|
Removing Lens Fungus
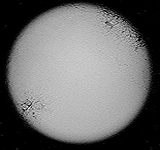
Fungus can be nasty stuff,
but it's stuff that happens. Unless your viewing angle is just right,
it can sometimes be difficult to see, but you can usually tell when
your lens is bothered by fungus by the hazy, cloudy appearance of
the glass. It is often also seen with what looks like little filaments
running through it, almost like tiny spiderwebs (see image above).
It is another one of the repairs you frequently need to consider
on a vintage camera, and something you want to deal with right away.
If fungus is left too long on a coated lens it can destroy any coating
(and you often have no way of knowing how long it has already been
there). Lens fungus is most often on a lens surface that is inside
the lens barrel. It is another one of the easiest repairs you can
make, although it is sometimes difficult to know how to disassemble
the lens to get access to it. Each lens can differ in that access,
and it is often best to have a repair manual, with exploded views,
as a guide.
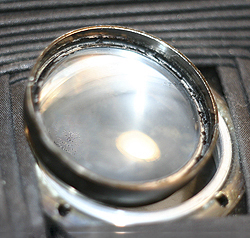
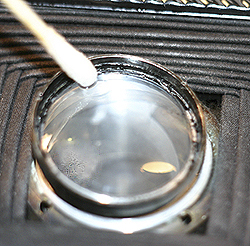
Mold on the edges and fungus clouding
the glass of the rear element of a vintage Voigtlander Ikonta folder
(above). Apply the 50-50 mixture of hydrogen peroxide and ammonia
generously with a cotton swab.
(Note: the pictures above are for illustrative purposes only. I do not
recommend applying cleaners, of any
kind, while the lens is still in the area of the camera's insides!)
Hydrogen Peroxide and Household Ammonia
The method I think works best to remove fungus from a lens is a
50-50 mixture of two items that are often already in the household:
hydrogen peroxide and ammonia. A little goes a long, long way, and
I do not recommend storing it for a long time, so only mix what
you need. For the repair described here, the amount of each ingredient
was only about two tablespoons!
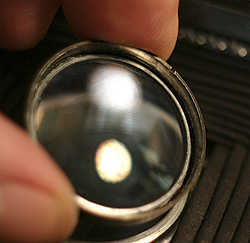
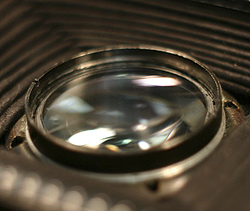
A much clearer lens is remounted
after a final clean-up with water and a soft lens cloth.
Finish With Water
You will find the fungus and mold literally melt right off the lens
(it can take a bit of mild rubbing, with a cotton swab or a bit of
cloth secured on the end of a toothpick, to loosen mold on the metal
surfaces. Follow the hydrogen peroxide-ammonia mixture with lens cleaner,
or plain old water (occasionally, I also use a very, very mild soap).
Dry the lens thoroughly with a soft lens cloth. It often takes a couple
of repeat steps to loosen and clean all the fungus and mold, but it
certainly makes you feel good to remount that shiny, clean lens element!
That's it! Another restorative cleaning done!
Tools You May Need
Like a lot of specialized repair work, there are specialized tools
that you will find indispensible to accomplishing these repairs. The
ones I use most often (pictured left to right below) are:
- Spanner Wrenches
- Rubber Lens Ring Removers
- Filter Ring Tool
- Jeweler's Screwdrivers
- A Panavise (optional)
- Cotton Swabs
- Lens Cloth, and
- Tweezers

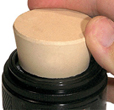

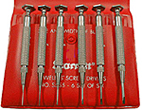
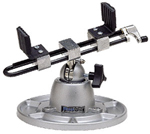


Other do-it-yourself repair sections are listed below
(note - line items in blue are live page links; items in black are
still under construction):
|


