and historical purposes, all rights reserved.
This page is copyright© by
This page may not be sold or distributed without
the expressed permission of the producer.
I have no connection with any camera company.
This camera manual library is for reference
and historical
purposes, all rights reserved.
This page is copyright© by ![]() ,
M. Butkus, N.J.
,
M. Butkus, N.J.
This page may not be sold or distributed without
the expressed permission of the producer.
I have no connection with any camera company.
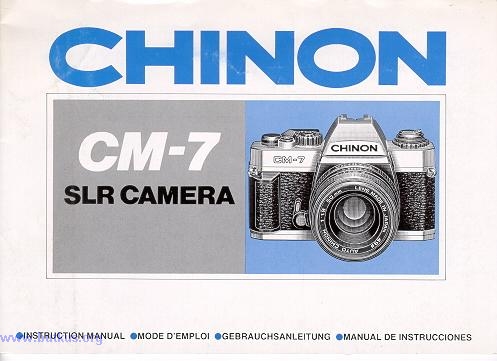
The next page contains information on this camera.
If the image below looks like your camera,
click below to see the PDF manual.
The next page also contains information
on how to donate to this site.
Venmo @mike-butkus-camera Ph. 2083
Back to main camera manual page
- - - - - - - - - - - - - - -
CLICK HERE TO CONTINUE TO
Chinon CM-7 HTML MANUAL
Chinon CM-7 PDF
FILE MADE FROM HTML FILE