I no longer have this car - 2006
YES I HAVE DSL, modems.... just wait. Lots of pictures to see.
First: This is a difficult job, if you have no talent for this
(nuts, bolts, soldering and stuff) don't do it. You can damage your
stereo and car electronics or scratch or crack the plastic frame around
the stereo. I am not responsible for you actions or inability.
This job should take an hour or so. You'll need special tools (long
phillips screwdriver with magnetic end), small stub screwdriver (possibility
a right-angle phillips screwdriver and a flat screwdriver, rag (for when
the screws drop), drill and a drill bit to enlarge the holes, soldering
gun and solder, black electrical tape, a radio (I got a 25 watt per channel
for $160 and 4 Polk speakers. They can't handle the bass I want but
the stereo has outputs to a sub woofer.
I did ask for a stereo upgrade when purchasing the car, I was told
$350 for a CD. NOT THINKING, I said yes. But only a CD player
was added to the 10 watt stereo. It was removed a few days later
by the dealer. I got $300 back (it was discounted the dealer said.
The dealer also said the FACTORY ALARM was specially wired into the car.
The BOX and it's snap in connector will be shown. Oh well.
Maybe the alarm and the stereo will show up on E-bay.
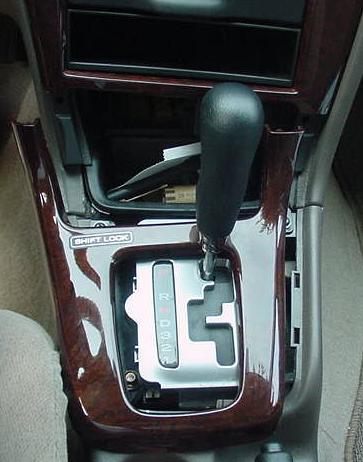
Here is the way to get to the radio. First you get a flat screwdriver and CAREFULLY pull up from the back. DON'T SCRATCH the wood grain! Go up from the rear and pull UP then pull away from the front.

|
This is a stereo pin out by Joe Holly, Click here to see it. |
Now you have the shift trim off. Put it some place you won't sit
on it! I bet this is a $65 piece of plastic.
Now you need to remove the two big screws holding the little cup in
place. Put the screws in the cup.
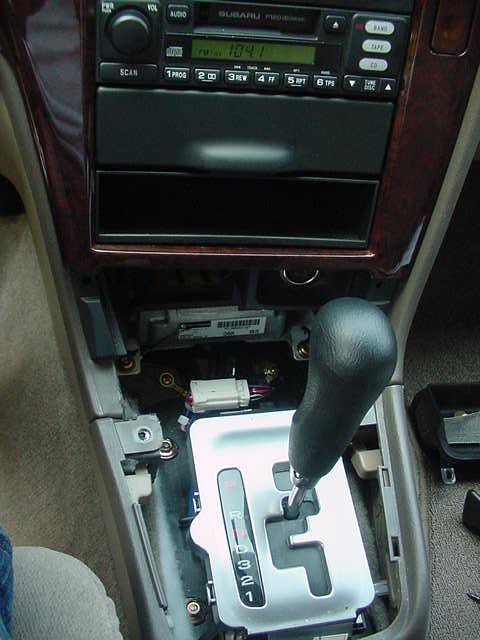
You will need the keys to put the car in drive. PARKING BRAKE...
EVEN A STONE BEHIND THE WHEEL TO KEEP YOU FROM ROLLING. The
car will BEEP when the keys are in the ignition. Get use to it or
put it back in park with the key out every once in awhile.
This little bugger is the ash tray Pull out the tray and push
down on the top to remove the cup. Now there is ONE screw in the
back and two (snub screwdriver) on top. Keep them in the ash cup.
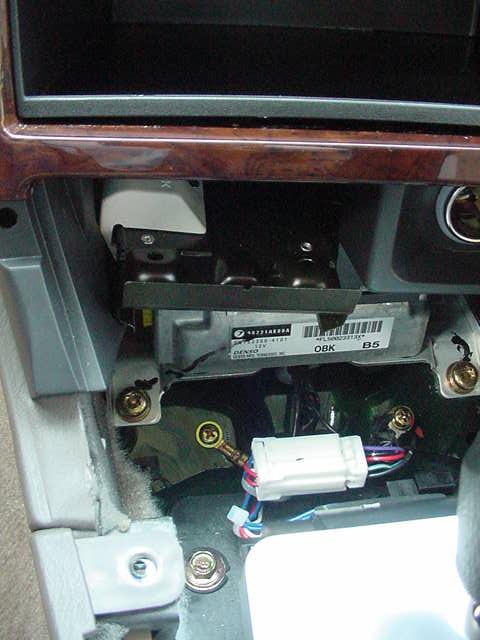
With the ash tray out you can now remove the outside trim and cup holder.
From the bottom, carefully pull up and at the top right pull the plastic
dash from the trim to get that section by the cup holder out. It
comes out and down. You may need to move the windshield wipers arm
down.
CAREFULLY TAKE OUT THE TRIM, NO REAL PULLING IS NEEDED.
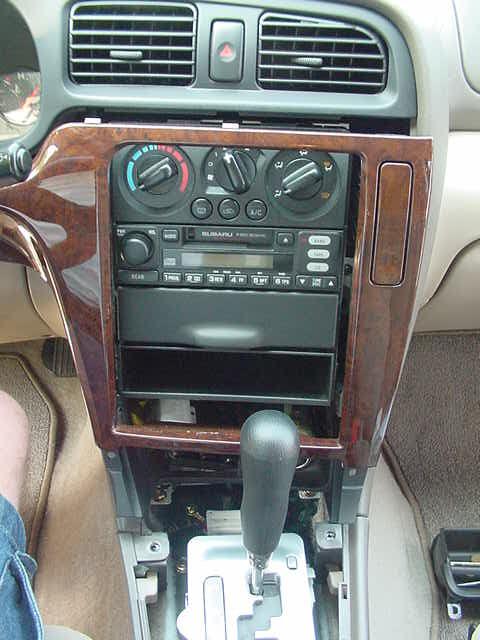
With the trim off, you can see the 4 screws holding in the stereo.
That box is the (as the box states) factory alarm. I paid $176 for
that box. I am looking for a auto starter.
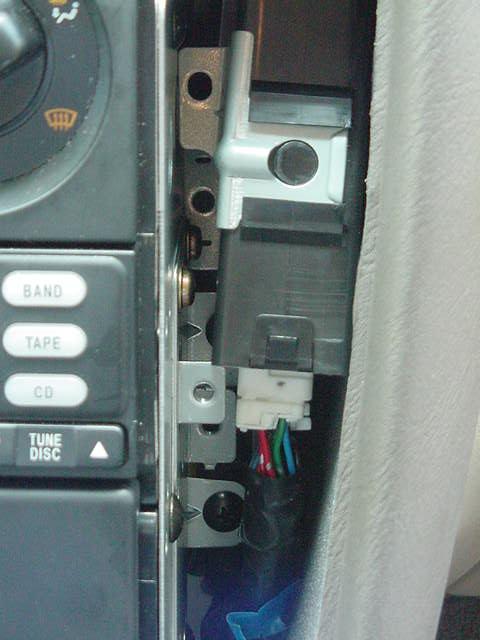
Two ways. You can take the screws off with a right angle screwdriver
and drop the screws into never-never land. Alas the rag to keep dropped
screws from going down the sides of the carpet. Better bet.
Take out that whole frame. Here's the 2 screws holding the whole
assemble in the car. This also shows the two screws holding the plastic
holder (where the CD was). You have to hold the back open and get
the end pins while pulling it out. I found it helpful to have that
out. You may not. Try unscrewing all the screws on the left
of the frame a bit to give you that extra space.
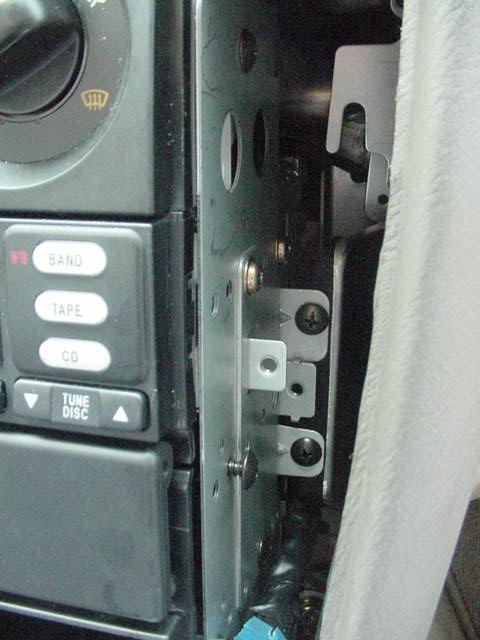
Shot of the right side screws.
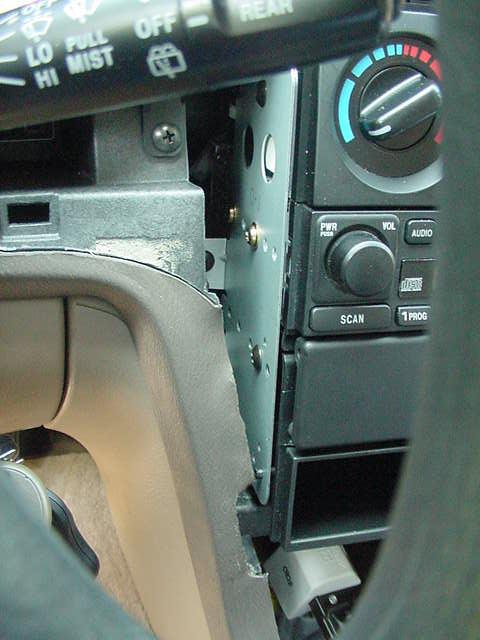
With a magnetic screwdriver or use a rag at the bottom to catch them
as they drop, get the 4 side and 2 bottom screws. There is one or
two screws on the alarm module. That can swing forward and hang there.
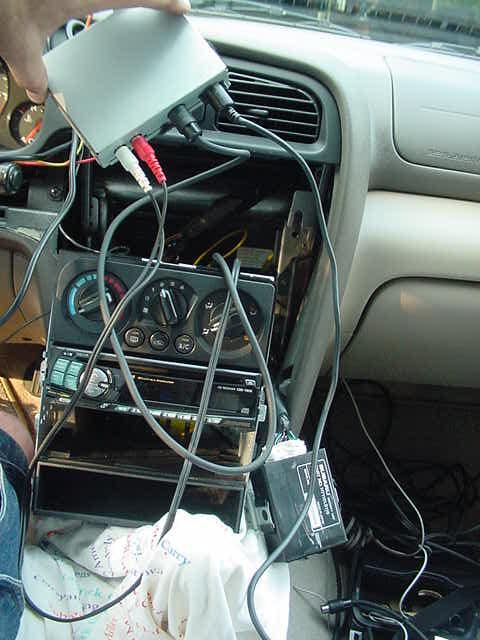
The whole assemble comes forward. There is still a cable running
from the top air conditioner control so even taking all the wires off,
the system will not come far from the dash. It will come out enough
to get to the screws.
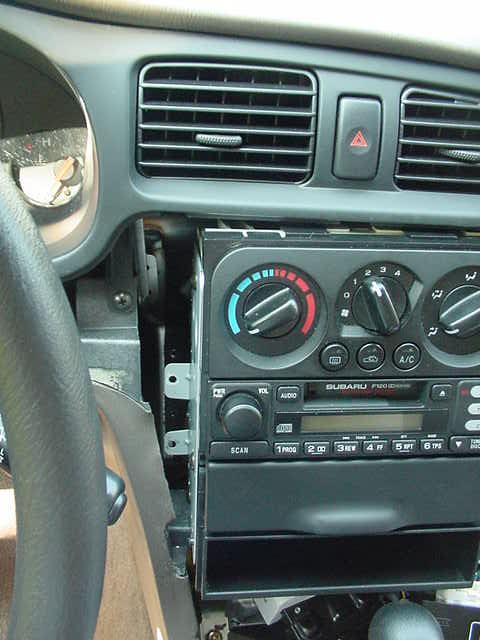
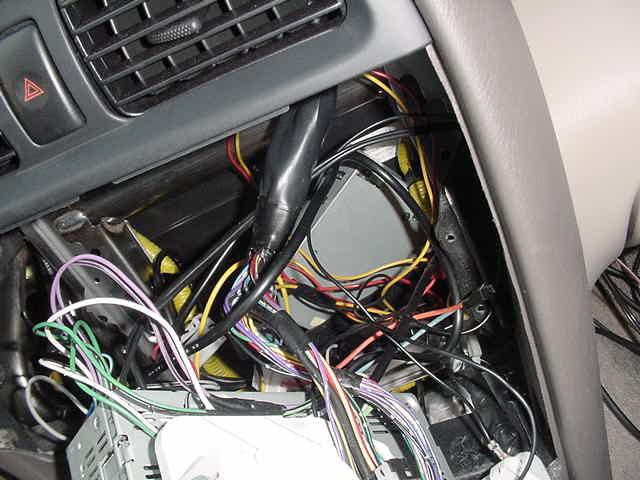
A tangle of wires. FIRST: to get the stereo in you have
to do all the wiring soldering. (unless you get the adapter from www.crutchfield.com)
and tape them. You must PUSH in the stereo (in my case one with a
removable front) all the way in. It will sit flush with the other
items. SECOND: you have to drill the two matching holes
on the stereo a bits closer together. Watch were the metal bits fall.
I had a Sony 10 pack from my former Jeep. I added that at this time
as it needed to be plugged into the stereo's antenna and stereo's power
wires. You see the "alarm" box hanging at the bottom that is specially
wired, hence can't be removed and resold. DO NOT UNPLUG IT, you might
need to reset all your remotes.
When finished you can plug in everything, push back the unit and try
it to make sure everything is right. MAKE SURE YOU DON'T CATCH ANY
WIRES ON THE METAL FRAME THAT GET SCREWED TO THE DASH. That will
cause a short and trouble. I would not put the 10 pack behind the
stereo. It gives less air space and there is a reset button on that
unit that might need to be pressed if the unit gets "confused" to reset
it. These units are great. They work through the stereo's radio
at an empty radio channel. Newer units are cheaper and work off specific
stereos but those units seem to be priced at $250 and up. This radio
changer unit cost under $200.
Oh baby.. where is that blue wire? Lots to get stuffed back
here. It all fit! Without the RF adaptor for the 10 pack, you
won't have this much of a mess.
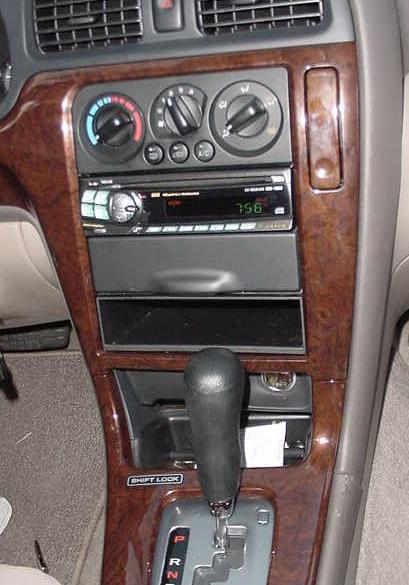
All back together. After missing a few screws (they seem to fall
in a notch in front of the shifter and the electronic box) these system
was tested and everything put back together. Next time (I may move
that 10 pack unit to under the dash) it should only take a half hour.
The electronic store in New Jersey had a $50 fee to install the stereo.
Depends on your ability and if they break it, they replace it.
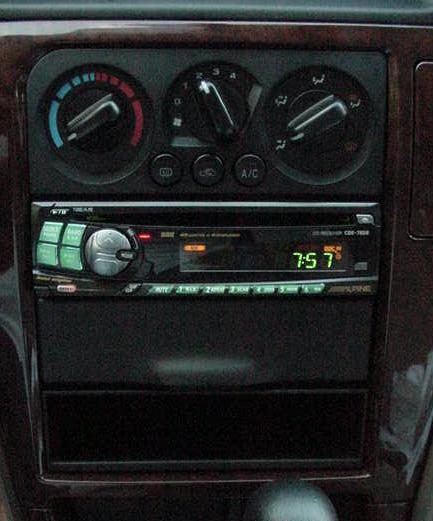
The Alpine stereo. With the new speakers alone, the sound was
an improvement. This helped a awful lot! But the little Polk speakers
aren't up to the Jeep Infinity stereo system. Hummm
Added by reader in 2008
Although I have a 2001 Legacy, the layout seems to be exactly the
same.  I found that a ratcheting offset screwdriver (picture attached)
worked "well" for those top screws on the ashtray.  That thing is a
Pain In The ASS!  I also found a magnetic screwdriver to be invaluable
as I dropped screws several times.
One comment though is that I think Subaru had two different sets of stereo
wiring color codes that year, since your .doc file and some other references I
found for 2002 Outbacks online didn't match my car. For addition to your web
site, here is what was in my car:
Car Radio Battery Constant 12v+ Wire: Blue/Yellow
Car Radio Accessory Switched 12v+ Wire: Yellow/Red
Car Radio Ground Wire: Black
Car Radio Illumination Wire: Green
Car Radio Ground or Nothing: Black/White
Car Radio Antenna Power: A 2nd green wire, may be taped together with the
Black/White
Left Front Speaker Positive Wire (+): Brown/White
Left Front Speaker Negative Wire (-): Green/Black
Right Front Speaker Positive Wire (+): Red/Yellow
Right Front Speaker Negative Wire (-): White/Black
Left Rear Speaker Positive Wire (+): White/Red
Left Rear Speaker Negative Wire (-): Red/Green
Right Rear Speaker Positive Wire (+): Blue/Green
Right Rear Speaker Negative Wire (-): Red